PASSO 11 VOANDO! (STEP 11 FLYING!)
PASSO 11
VOANDO!
Com o aeromodelo montado e os
equipamentos instalados é tempo de voar!
 Para isso é preciso primeiro
ajustar o Centro de gravidade (CG). Então tenha como referência o primeiro
terço da asa a partir do bordo de ataque (aproximadamente 3,5 cm). O aeromodelo
deve ficar equilibrado ao ser suspenso nesse ponto.
Para isso é preciso primeiro
ajustar o Centro de gravidade (CG). Então tenha como referência o primeiro
terço da asa a partir do bordo de ataque (aproximadamente 3,5 cm). O aeromodelo
deve ficar equilibrado ao ser suspenso nesse ponto.
As condições do tempo ideais para o voo do
Colibri são de brisa suave, sem vento. Na região onde o protótipo foi testado
isso coincidia com o final da tarde.
Para começar a voar, recomenda-se
fazer antes uma sequencia de voos curtos de teste e ir aumentando
gradativamente, a fim de se familiarizar com o comportamento do aeromodelo,
Assista ao vídeo, e identifique
nas cenas numeradas, as dicas de voo apresentadas abaixo:
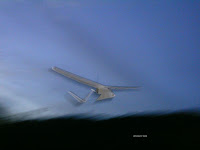
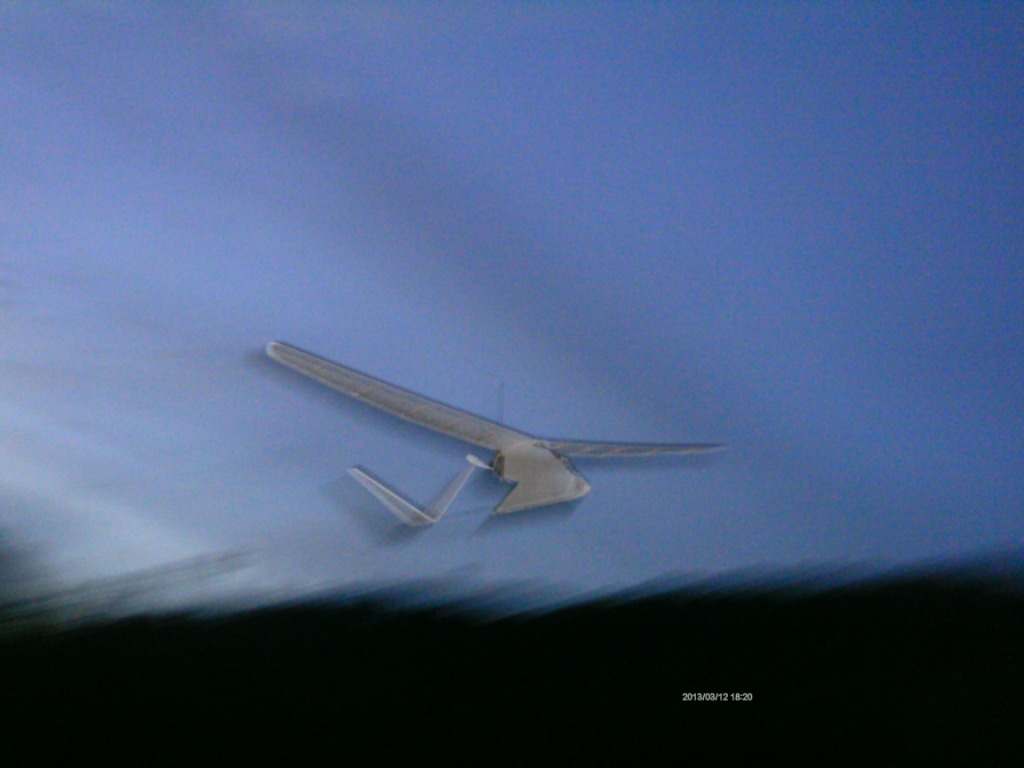
1- Comece lançando o Colibri horizontalmente,
a meia altura, como um planador, de preferência sobre um gramado. Durante esses testes em linha reta, acione o
motor e mantenha a altura.
2- Quando já estiver familiarizado
com a reação do modelo e motor, comece a acionar também os lemes de direção e a
fazer pequenas correções na trajetória.
3- Depois desses primeiros treinamentos comece
a fazer meias-voltas (curvas 180º) e por fim
voltas 360º completas - 4 .É importante dominar essa técnica para que
você possa pegá-lo na mão!
Se necessário, faça agora o ajuste fino do
Centro de Gravidade (CG). O principal sintoma de CG desregulado (peso de cauda)
é um voo irregular entre subida e descidas acentuadas pelo profundor . E para corrigir, basta chegar as asas para
trás no suporte ou as baterias para frente dentro da carenagem, de modo que ele
fique equilibrado em voo, com os motores acionados -5. (Atenção, se necessário coloque
uma bateria mais pesada respeitando o limite de 64g!). Agora que domina os
controles comece a voar-6!
Atenção: no vídeo em 00:36 aparece uma anotação em branco, que significa:
"As corridas só fazem parte dos testes para estabelecer parâmetros de:
-alcance radio/receptor,
-observação dos controles em voo e
-velocidade de voo e perda."
 O voo é suave, devido a sua
leveza e permite até pegá-lo com as mãos, um dos pontos altos do projeto. A autonomia é cerca de 8 minutos variando
conforme a capacidade da bateria, o uso do motor e condições do tempo. Lembre-se de que o alcance máximo do radio é
entre 20-25m,
O voo é suave, devido a sua
leveza e permite até pegá-lo com as mãos, um dos pontos altos do projeto. A autonomia é cerca de 8 minutos variando
conforme a capacidade da bateria, o uso do motor e condições do tempo. Lembre-se de que o alcance máximo do radio é
entre 20-25m,
pelas características observadas nos testes do controle e alcance.
Isso pela eletrônica, herdada do
carrinho (rádio /receptor 27MHz). No radio usado pelo protótipo do Colibri
quando há perda de alcance o motor desliga, mas ainda funciona os lemes de
direção, permitindo retorno.
 Agradeço a: minha esposa Eliana que me incentivou muito na elaboração e publicação deste trabalho. Ao meu filho Geraldo pelas fotos e filmes, além da redação/formatação do blog. Ao site Aerofred.com que hospedou e divulgou a planta do Colibri. E a companhia e a atenção
de todos os visitantes do blog!
Caso tenham alguma dúvida, escrevam nos
comentários, para resposta.
Aguardem novidades e bons voos!
Agradeço a: minha esposa Eliana que me incentivou muito na elaboração e publicação deste trabalho. Ao meu filho Geraldo pelas fotos e filmes, além da redação/formatação do blog. Ao site Aerofred.com que hospedou e divulgou a planta do Colibri. E a companhia e a atenção
de todos os visitantes do blog!
Caso tenham alguma dúvida, escrevam nos
comentários, para resposta.
ESTA POSTAGEM ENCERRA O PASSO A
PASSO DE CONSTRUÇÃO E VOO DO COLIBRI MOTOR GLIDER.
STEP 11
FLYING!
STEP 11
FLYING!
 With the model aircraft and the equipment installed,
it's time to fly! For this, you must first adjust the Center of Gravity
(CG). Then reference the first third of the wing from the leading edge approximately
1,4 inch-(3.5 cm) . The model must be balanced when suspended at this point. The ideal weather conditions for the Colibri
flight are smooth breeze, no wind. In the region
where the prototype was tested coincided with the late afternoon.
With the model aircraft and the equipment installed,
it's time to fly! For this, you must first adjust the Center of Gravity
(CG). Then reference the first third of the wing from the leading edge approximately
1,4 inch-(3.5 cm) . The model must be balanced when suspended at this point. The ideal weather conditions for the Colibri
flight are smooth breeze, no wind. In the region
where the prototype was tested coincided with the late afternoon.

Watch the video, and identify in the numbered scenes, the flight tips presented below:
1-Begin by launching the Colibri horizontally, at half height, like a glider, preferably on a lawn. During these straight-line tests, start the engine and maintain the height.
"Attention: in the video at 00:36 a blank note appears, which means:
"Running is only part of tests for
establish parameters of:
- radio receiver reach,
-observation of flight controls
- speed and stall."
"Running is only part of tests for
establish parameters of:
- radio receiver reach,
-observation of flight controls
- speed and stall."
The flight is smooth due to its lightness and even
allows you to catch it with your hands in flight, one of the highlights of the
project. The autonomy is about 8 minutes depending on battery capacity, engine
usage and weather conditions. Remember that the maximum range of the model is
between 22-27 yards,(20-25m), due to the characteristics observed in the
control and range tests. This by electronics, inherited from the toy car (radio/27MHz
receiver). In the radio used by the prototype of the Colibri when there is loss
of reach the engine turns off, but still the steering rudders are working,
allowing return.


A lot's thanks to: my wife Eliana who encouraged me a lot in the preparation and publication of this work. To my son Geraldo for the photos and films, besides the writing/formatting of the blog. To site Aerofred.com that hosted and released the Colibri plans. And the company and the attention of all visitors to the blog!
Wait for news and good flights!
THIS POST FINISH THE STEP BY STEP OF CONSTRUCTION/FLIGHT COLIBRI MOTOR GLIDER.


Comments
Post a Comment